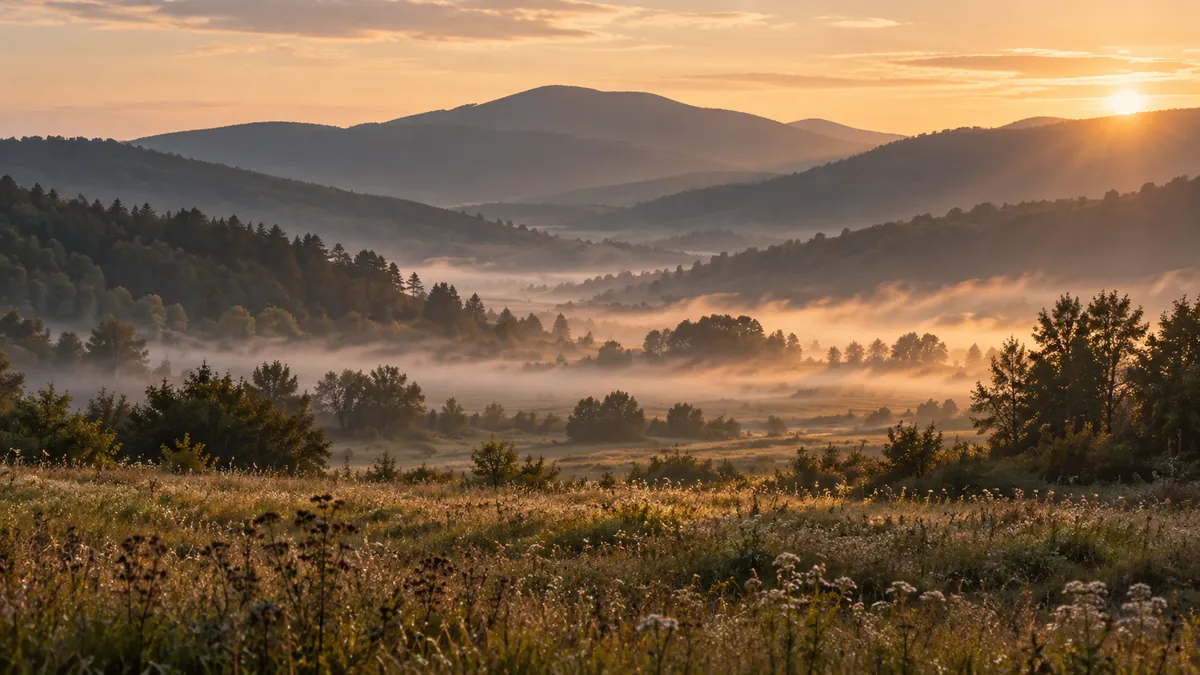
Fog can turn a busy landscape into a few simple shapes: a nearby tree, a pale background and a line disappearing into the distance. The challenge is finding useful visibility, rather than simply finding the thickest fog. Plan for several possible compositions so a changing forecast does not decide the whole outing.
Know which kind of fog you are looking for
Radiation fog develops as air near the ground cools overnight to saturation. Sheltered valleys and places near water are favored locations; this fog is often patchy and may clear as the ground warms after sunrise. That makes an accessible valley viewpoint a reasonable candidate for a morning reconnaissance, not a guaranteed photograph. See NWS: Radiation fog.
Coastal fog can behave differently. Advection fog forms when moist air passes over a colder surface, and it can occur with cloudy skies and appreciable wind. Do not dismiss a coastal fog forecast solely because the night is breezy. Consult NWS: Advection fog and the local forecast discussion for context.
Build a forecast checklist without inventing certainty
Look for explicit fog or visibility information for the location and intended hour. Then examine overnight cloud changes, temperature trends and wind. Those details help you understand the forecast; they should not be turned into a homemade rule that promises fog whenever one number crosses a threshold.
- Check both the photography location and the route to it.
- Identify a viewpoint with a nearby subject and a second composition at a different distance.
- Recheck the forecast before departure and leave time for a slow journey.
- Choose a backup scene that still works if the fog is absent or too dense.
For example, imagine a riverside park with a lone tree beside a public path. In light fog, you might include the river and distant bank. In thicker fog, the tree and path may become the whole composition. If the route has poor visibility, postpone the trip rather than trying to preserve the original schedule.
Compose for separation and scale
Start with a clear foreground shape. Move a little and watch whether it separates from the next layer. A trunk overlapping another dark trunk may become unreadable, while a small change in position can leave pale space between them. Keep checking the edges of the frame: a nearby bin or branch can become more distracting when most of the background has disappeared.
Try one wider view to show the setting and one tighter view to emphasize repetition. Include a recognizable object when you want viewers to understand scale. If the scene becomes featureless, look closer for reeds, branches or a reflection rather than forcing a distant landscape composition.
Check exposure and focus on location
Take a test frame and inspect both the image and histogram. A bright, low-contrast scene may need a different exposure from the camera’s first suggestion, but there is no fixed compensation that works for every fog photograph. Protect any important bright areas and adjust deliberately.
Focus on an edge you can actually see, then review that subject at increased playback magnification. When distant detail disappears, avoid assuming the camera has focused where you intended. If your equipment struggles, use its manual-focus tools according to the manufacturer’s instructions. Keep a clean lens cloth available and check the front element before blaming soft detail on the atmosphere.
Let visibility set the limits
The National Weather Service warns that fog can reduce road visibility and advises allowing extra travel time. Read NWS: Driving in fog before a fog outing. Use established viewpoints and stay away from traffic; the photograph should not require standing in a roadway or approaching an unseen edge.
Fotocast’s photography weather forecasts can help organize your planning alongside official local forecasts. Pair this focused checklist with our guides to landscape photography weather and planning an outdoor photoshoot.