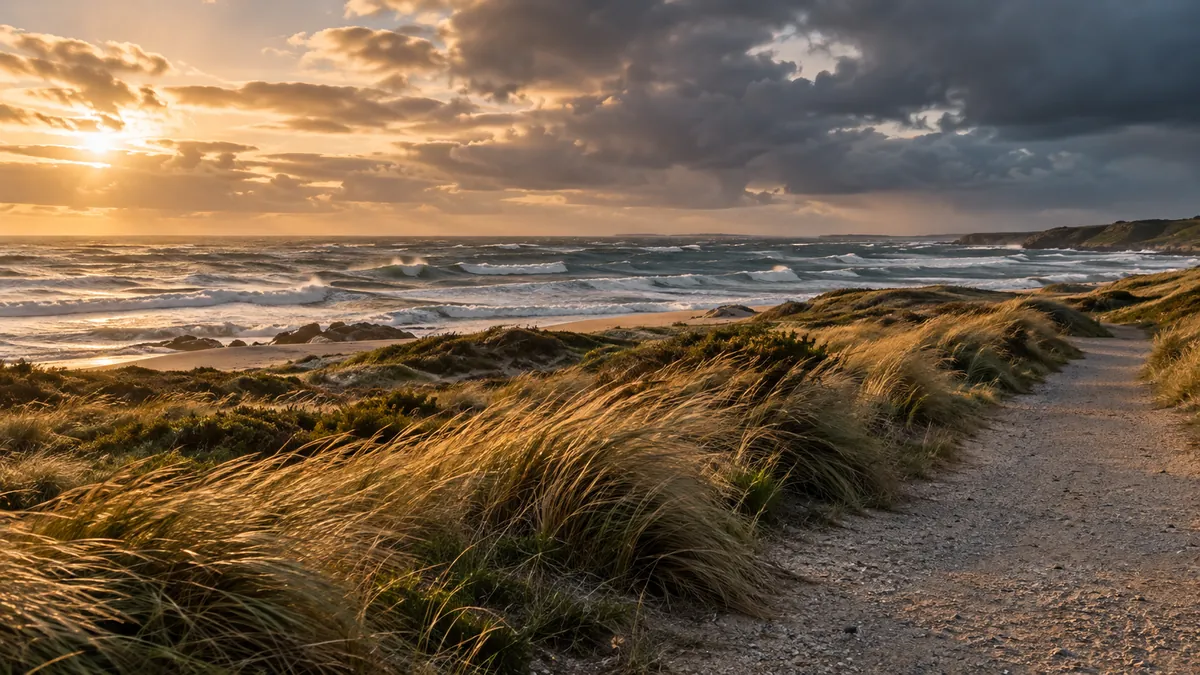
Wind changes a photoshoot in two ways: it moves the subject and it changes how practical the location is. A portrait with flowing hair may benefit from a breeze, while a close-up of a flower may become frustrating. Begin with the photograph you need, then decide what movement you can accept and what conditions require a different plan.
Read speed, gusts and direction together
A wind forecast is more useful when you read its separate values. Sustained speed describes an average; a gust describes a short-lived peak. Direction conventionally tells you where the wind comes from. A west wind therefore comes from the west, rather than traveling toward it. See the National Weather Service wind glossary. Confirm how your forecast displays arrows rather than guessing from an unfamiliar icon.
Compare the hours before setup, during the session and while packing away. A manageable-looking average can hide gusts that interrupt posing or destabilize loose equipment. Make sure you are comparing the same units when switching between apps or weather services.
Match the forecast to the actual location
A forecast for a town is not a measurement at your chosen camera position. The NWS describes how constricted passages in mountains and cities can channel strong local winds. See its high-wind glossary. A sheltered courtyard, open field and gap between buildings deserve separate consideration even when they share a forecast location.
Scout where everyone will stand and where equipment will go. Identify a nearby alternate setting before the session. A wall may offer a useful background, but shelter is not permission to continue during dangerous conditions or an official warning. Do not use tree cover or an exposed cliff as a workaround for strong winds.
Choose whether to freeze or show movement
For a portrait, decide whether moving hair and clothing support the look. Take test frames, inspect facial detail and adjust the subject’s orientation. A small change in position can be more useful than repeatedly fixing the same pose. Keep the instructions simple so the person you are photographing can respond to changing conditions.
For vegetation, choose the sharp detail you need before setting the exposure. Shorter shutter times can help freeze movement; longer ones can show it intentionally. Review a sample at full magnification rather than trusting a small screen view. A tripod can steady the camera, but it cannot stop a moving branch or skirt. There is no single shutter speed that handles every subject, lens and gust.
An illustrative plan for a meadow portrait might include a loose-hair composition in a light breeze and a closer, more sheltered composition if movement becomes distracting. For a flower detail, the backup might be a wider view where moving grass is part of the scene instead of a failed attempt at a perfectly still close-up.
Keep the equipment plan simple
Reduce the number of loose accessories and keep bags closed between changes. A large reflector, umbrella or backdrop adds handling demands that a small camera-only setup does not. Follow the equipment manufacturer’s support and loading instructions; do not assume a generic weight or improvised attachment makes an accessory safe in gusts.
If the setup needs constant restraint or people cannot work comfortably, simplify it or stop. Avoid scheduling a session that only succeeds if the forecast is more favorable than predicted.
Set a clear change-of-plan decision
Check local alerts before leaving. NWS high-wind products use local criteria, so do not treat one universal speed as a safe photography limit. Its wind watches, warnings and advisories guidance explains what the alerts mean. For a warning affecting your outing, follow official instructions and move the session to another time or an appropriate indoor location.
Tell participants when you will make the final decision and which alternative applies. Use Fotocast’s weather planning tools for photographers alongside official forecasts to compare your working window. Our outdoor photoshoot planning guide covers the broader schedule; landscape photography weather helps you decide when movement can become part of the picture.