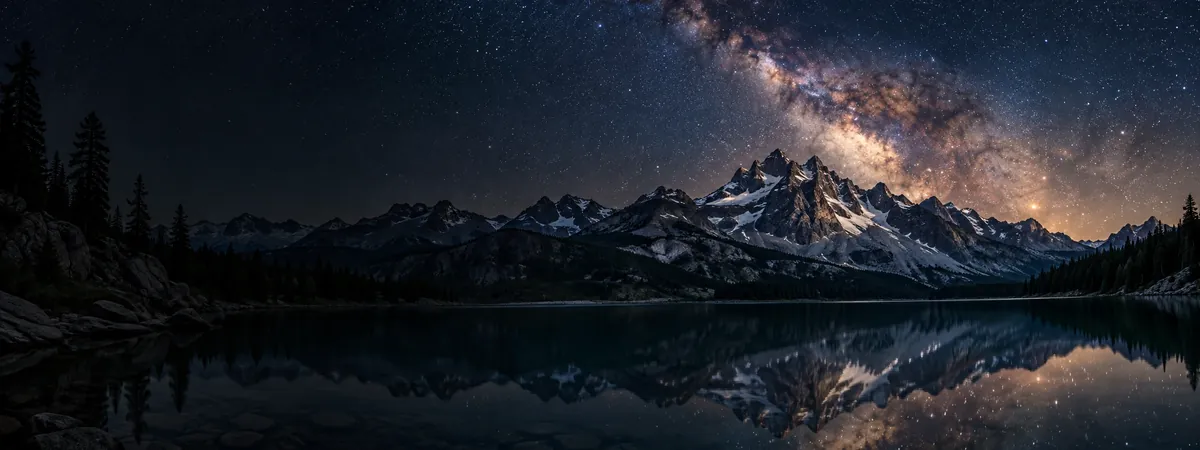
A productive Milky Way photography plan combines a dark location with a useful time window and a composition you can reach safely. Treat these as separate checks. A beautiful foreground does not help if the part of the sky you want is hidden behind it.
Match darkness to your subject
The National Park Service identifies a clear, dark night as the best setting for seeing the Milky Way. Moonlight is another natural source of sky brightness. See NPS: Natural light in the night sky. Check when the Moon is above the horizon as well as its phase; the hours available to you matter more than the date alone.
Compare the session with astronomical darkness. Sunset is a convenient arrival marker, but it does not mean the sky is already dark enough for the faint detail you want.
Check the sky direction before choosing a foreground
Decide whether your intended photograph needs the bright central region, a wider sweep of the Milky Way or simply a star-filled landscape. Use a sky-position planning tool for the location and date rather than assuming that an attractive example photograph can be repeated anywhere.
Scout a composition in daylight. Note trees, mountains and nearby light sources in the direction of the shot. Leave room to adjust your tripod position without stepping outside a safe path. A backup composition can rescue a session when the planned view is obstructed.
Compare a complete observing window
- Review cloud cover from setup through the final exposure.
- Check wind if your camera or foreground includes movement.
- Check temperature and moisture conditions, then plan equipment protection.
- Allow time to set up and test focus before the intended shooting window.
- Include the journey back in your weather and safety assessment.
Separate planning from camera settings
There is no single exposure that works for every lens, camera and desired result. Begin with a test exposure, inspect focus and star shape, then adjust. Decide in advance whether you want a short single exposure, a sequence for stacking or a tracked sky exposure; these choices change the time and equipment required.
Record the location, time, Moon presence and weather alongside your photographs. When a result falls short, those details help distinguish a focus or exposure issue from a sky-condition problem. Change one part of the plan at a time on the next attempt.
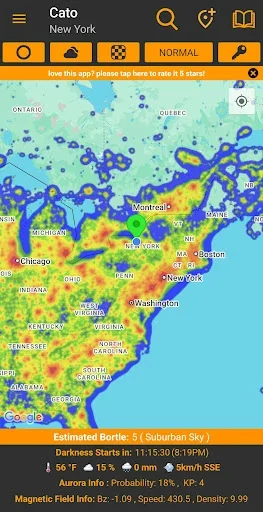
Use Light Pollution Map to explore dark-sky locations, then follow our location checklist to verify access and local conditions before committing to the trip.