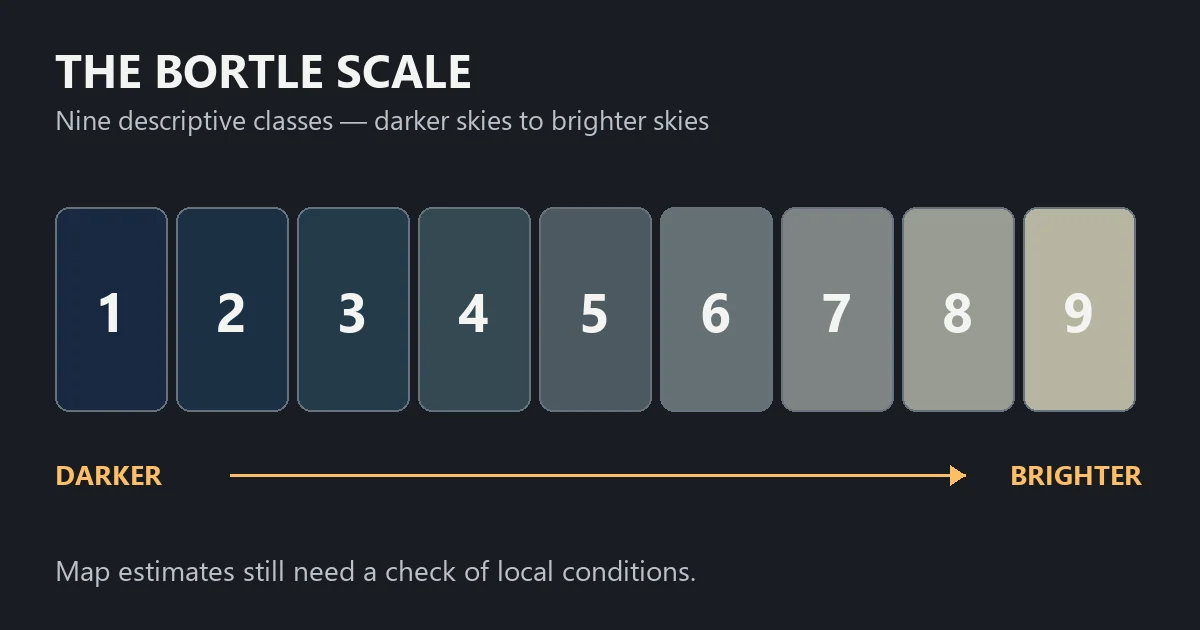
The Bortle scale is a way to describe how dark an observing sky appears. Lower classes indicate darker skies; higher classes describe brighter skies. It is useful for comparing locations, but a single number cannot describe every condition you will encounter on a particular night.
The nine classes at a glance
John E. Bortle developed the scale from visual observations, using several sky features rather than only a star-count limit. These short descriptions summarize the progression; use John E. Bortle: The Bortle Dark-Sky Scale for the full observational criteria.
| Class | General description |
|---|---|
| 1 | Exceptionally dark sky with very little artificial interference. |
| 2 | Very dark sky with subtle natural sky features readily apparent. |
| 3 | Rural sky with some visible influence from distant lighting. |
| 4 | Rural-to-suburban transition; light domes become more noticeable. |
| 5 | Suburban sky with substantially reduced faint-sky contrast. |
| 6 | Bright suburban sky; faint extended objects are more difficult. |
| 7 | Suburban-to-urban transition with pervasive artificial brightness. |
| 8 | City sky dominated by artificial light. |
| 9 | Very bright inner-city sky with the strongest limitations on faint objects. |
A map estimate is not a nightly observation
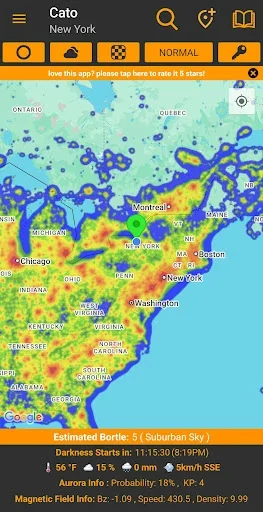
Use the class shown on a map as a reason to investigate a location, then check the map’s data explanation and date. Do not assume its class was measured from your exact viewing spot or accounts for your chosen hour. Two places with the same displayed estimate may have different nearby lamps and different horizon obstructions.
For a fair comparison, record Moon presence, clouds, the direction you observed and any light shining directly into your eyes. Compare several visits rather than treating one disappointing session as a permanent classification of a site.
Choose a class for your purpose
Instead of chasing the lowest number at any cost, ask what you want to observe. A convenient site can be useful for learning the sky, testing equipment or practicing compositions. For a trip aimed at faint detail, compare darker alternatives and allow time for the journey and setup.
Build a practical shortlist
- Compare at least two locations within your travel range.
- Check legal access and the horizon in the target direction.
- Look for nearby lighting that the broad map cannot describe.
- Check weather and the astronomical darkness window.
Light Pollution Map can help you investigate potential observing locations. Our dark-sky planning guide turns that initial map comparison into a usable night-out checklist.