Driving to darker skies is only part of a stargazing plan. A bright screen, a car headlight or a poorly placed lantern can interrupt the darkness right where you are observing. Protecting night vision is mostly a matter of arranging the session before you start looking for faint stars.
Plan an adjustment period
NASA recommends allowing about 20–30 minutes for your eyes to adjust when viewing meteors and avoiding bright lights, including phone screens. See its skywatching advice. That is a useful observing guideline, not a timer that makes every person’s vision identical after exactly 30 minutes.
Use the first part of the session to settle into a seat, identify the broad view and notice what you can already see. Repeatedly checking a bright display can make it harder to judge whether the sky or your lighting habits are limiting the session.
Configure the phone before you arrive
Lower brightness, choose an appropriate display mode and test the app you need before going dark. A theme label alone does not tell you how bright every screen, keyboard or notification will appear. Check the actual display, including navigation and lock-screen alerts.
Light Pollution Map’s night-friendly themes support this workflow. Use its map, saved observing locations, Moon information and darkness timing beforehand so you spend less time navigating menus while observing. Dim settings do not make any screen harmless at any brightness; keep screen checks brief and point the display away from others.
Arrange the observing area
Choose a legal viewpoint away from direct glare where you can still move safely. Park so opening a door or starting the car will not immediately illuminate the group. Put frequently needed items in one predictable place. Find the route back before darkness makes unfamiliar obstacles difficult to notice.
The National Park Service’s Stargazing 101 is a useful reference for preparing a night under the stars. If visiting a shared observing site, follow its lighting rules and ask before using a brighter lamp.
Use only as much light as the task needs
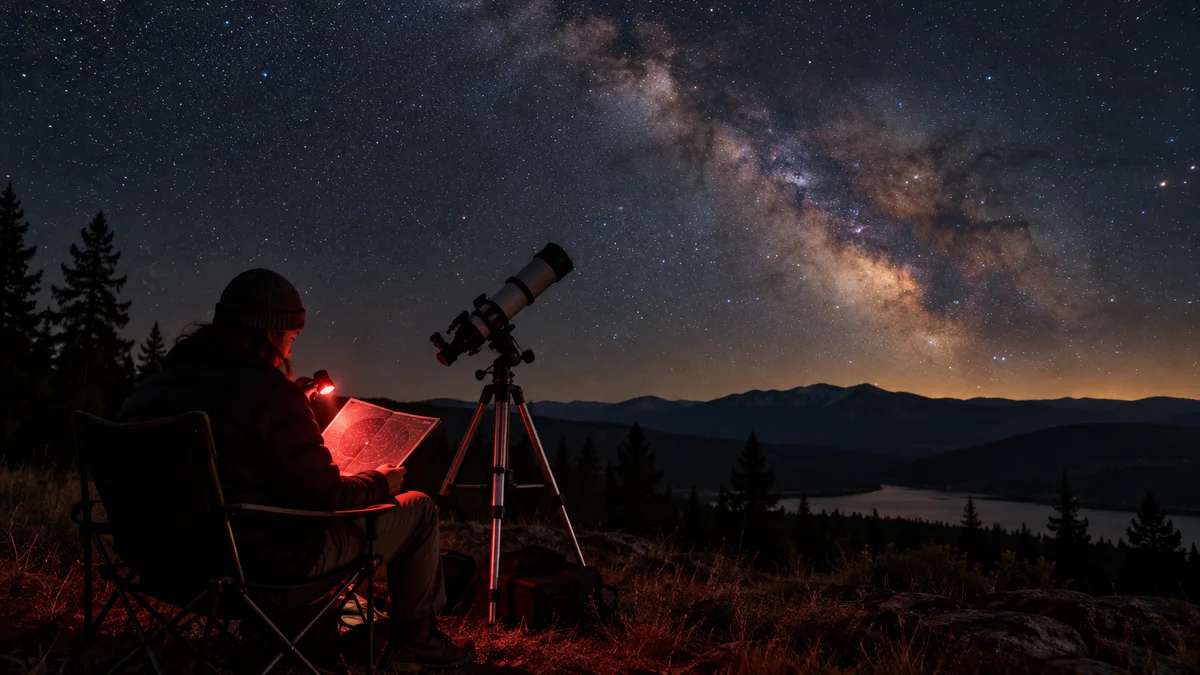
A dim red light is often used for observing tasks, but brightness still matters. Use a small amount of light to find an item, direct it downward and turn it off again. Do not leave a lantern running just because its color seems appropriate.
For example, prepare a short printed or dim-screen checklist before a meteor session: observing window, return route and departure time. That reduces the temptation to reopen the map for every minor question. It is a convenience strategy, not a reason to ignore a safety issue that requires more light.
- Configure displays and alerts before the session.
- Keep direct glare outside the observing area.
- Place equipment so you can find it consistently.
- Allow time away from bright lights, then limit interruptions.
Questions about night vision
Can a darker map location compensate for bright local lights?
No map removes the light beside your observing spot. Check local glare when you arrive as well as the wider dark-sky location.
Should I avoid all light even when walking back?
No. Use enough light for safe movement. The goal is a workable observing routine, not navigating unfamiliar terrain without seeing the path.
Explore Light Pollution Map on Google Play or Light Pollution Map on the App Store for current platform features and purchase options.