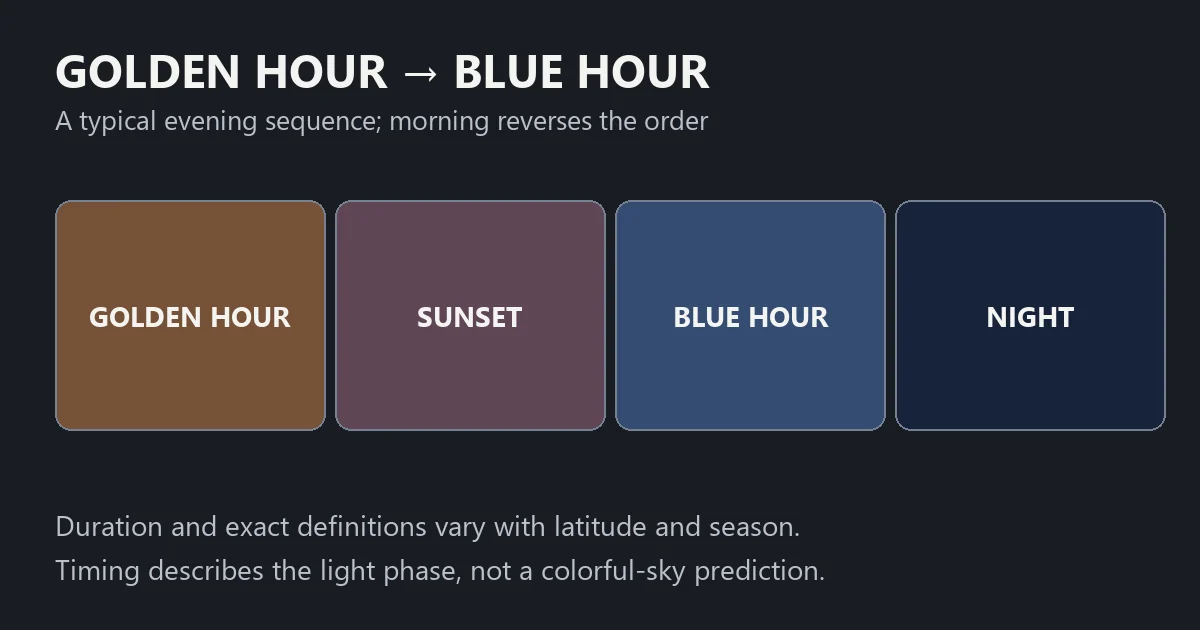
Golden hour and blue hour describe different opportunities around sunrise and sunset. Golden hour is associated with low, warm sunlight; blue hour describes the cooler-looking twilight period when the Sun is below the horizon. Neither is a fixed sixty-minute appointment.
Golden hour: plan for low sunlight
The National Park Service describes golden hour as the period shortly after sunrise or before sunset in its NPS: Grand Canyon photography. For a photograph, the important question is whether that low sunlight reaches your subject. A mountain ridge, building or cloud bank can block it before the published sunset time.
Think about the direction of light. A subject facing the Sun, a silhouette and a backlit portrait need different positions. Scout where you will stand rather than choosing a location solely because the time sounds favorable.
Blue hour: plan for twilight
Blue hour occurs around dawn or dusk with the Sun below the horizon, but photographic definitions vary. The standardized civil, nautical and astronomical twilight boundaries are separate astronomical definitions; see US Naval Observatory: Rise, set and twilight definitions. A calculator’s stated convention matters when comparing results.
Choose a scene that can work with lower light: a skyline, a reflection or a composition that combines the sky with existing lights. Check your exposure as the scene changes rather than keeping the settings you used while direct sunlight was present.
Why the windows vary
Your location and date affect how quickly the Sun moves through the relevant angles. Terrain and weather then affect what the scene looks like. Avoid adding a fixed number of minutes to sunset and calling it an exact universal blue-hour time.
For a dawn session, allow enough time to arrive and set up before the first planned photograph. For an evening session, plan where you will finish and how you will return once the light is low.
Choose the window for your photograph
- Warm direct light on a subject: investigate golden hour and its light direction.
- A cooler sky with an illuminated foreground: investigate a twilight composition.
- A colorful sky: consider the cloud and horizon conditions as well as the time.
- A moving subject: check whether your available light supports the exposure you need.
Do a short test sequence if you are uncertain. Compare focus, subject movement and exposure at the start and end of the window, then use those observations to plan your next session.
Explore SkyCandy’s sky and light-planning tools. For a broader weather-based session plan, see Fotocast and our outdoor photoshoot checklist.