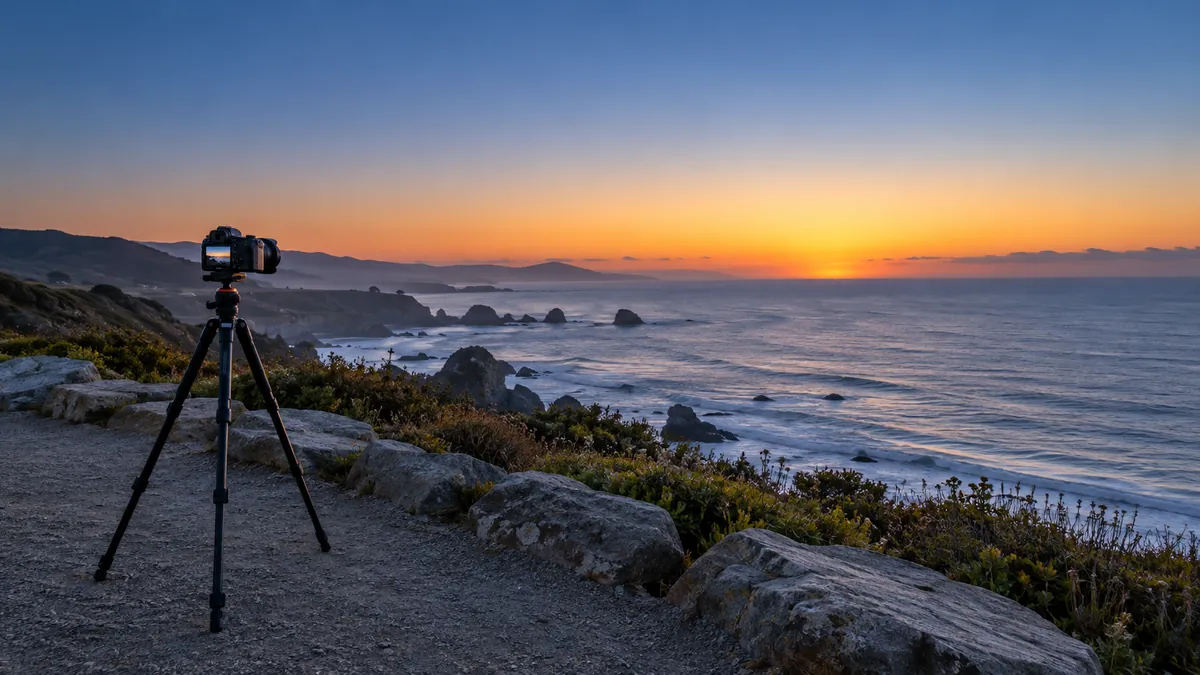
A sunrise session starts well before the moment the Sun appears. You need time to reach the location, find your position and decide what belongs in the frame. Build the plan around those tasks, then use the forecast to choose between realistic options. This guide focuses on the morning workflow rather than promising particular colors.
Choose a photograph before choosing a departure time
Ask whether you want the Sun itself, warm light on a subject or a scene in twilight. Those goals require different positions and timing. Write down the subject and the direction you intend to face. For a first visit, a simple composition and familiar access route give you fewer decisions to make in darkness.
Scout during daylight when possible. Identify the actual standing position, legal parking and walking route. Check official opening hours: a viewpoint that is available in the afternoon may not permit entry before dawn.
Allow for the horizon you will actually see
The U.S. Naval Observatory defines sunrise using the Sun’s upper edge at an unobstructed horizon under average atmospheric conditions. Local topography and observer height can change when the Sun is seen; refraction also limits precision. See USNO’s rise, set and twilight definitions. A listed time therefore does not guarantee the first direct sunlight on a subject behind a ridge.
Check the direction as well as the clock. Sketch where a hill, building or tree will sit relative to the intended Sun position. If you cannot inspect the horizon in advance, choose a flexible frame rather than relying on the Sun appearing at one exact point.
Work backward from a ready-to-shoot time
Illustrative schedule: imagine the sunrise time is 6:40 a.m. and you want to be set up by 6:10. If the walk takes 15 minutes and setup takes another 10, aim to reach the parking area by 5:45, then add your travel time and a reasonable buffer. These numbers are an example, not live sunrise data or a universal arrival rule.
Decide how much twilight you want to photograph before fixing that ready time. Our golden hour and blue hour guide helps separate warm sunlight from the cooler twilight opportunity. Check your location’s date and time zone when saving a plan.
Check the forecast for the whole outing
Compare conditions from arrival through the return walk, not just at sunrise. Make a short list: expected cloud conditions, rain, wind and any official warnings. Then decide what would make you change location or postpone. Avoid inventing a precise color prediction from one weather icon.
SkyCandy’s sunrise forecasts, daylight phases and Sun direction tools can help organize the light-related part of the session. A quality forecast is still an estimate. See why sky-quality forecasts sometimes miss before treating a promising morning as certain.
Prepare a second composition
If your primary frame depends on vivid clouds, choose another that works with a quieter sky: a reflection, an interesting foreground or a clearly shaped silhouette. If your aim is warm light on a building, note a second view that does not depend on that light arriving immediately.
Pack and check the camera the evening before. Confirm a charged battery, available storage and the settings you intend to start with. Once on location, review a test frame and adjust for the scene rather than using a fixed exposure recipe from an unrelated photograph.
Set a clear stop or change decision
Choose when you will leave and which conditions would end the session early. If thunder develops, stop photographing and follow the National Weather Service lightning guidance: seek a substantial building or enclosed hard-topped vehicle rather than waiting outside for better light.
Afterward, note whether the route and timing worked. Improving a repeatable morning routine is useful even when the sky does not deliver dramatic color.