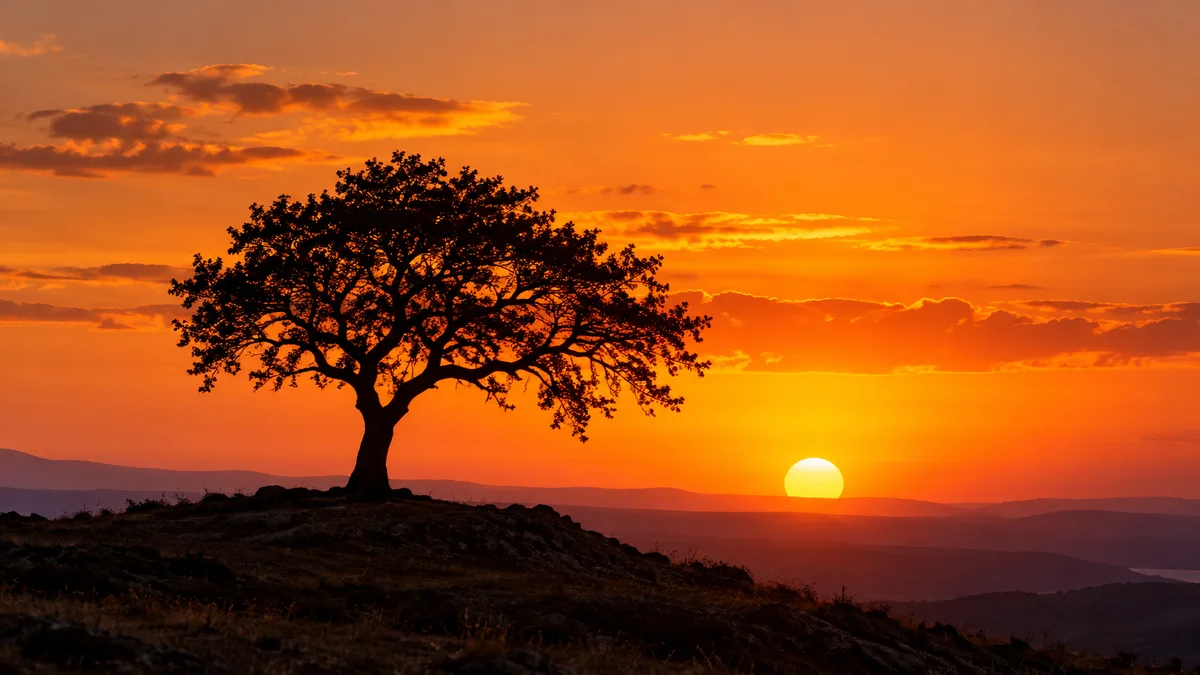
A silhouette works when the subject’s outline tells the story. You are not trying to recover every detail in the foreground: you are arranging a dark shape against a brighter background. Sunrise and sunset can provide that contrast, but composition matters more than simply pointing toward a colorful sky.
Find a recognizable outline
Choose a tree, structure or person whose shape remains readable without interior detail. Walk around before the light changes and look for overlapping branches, poles or horizon lines. A small shift in viewpoint can separate a subject from a confusing background more effectively than an exposure adjustment.
If photographing a person, discuss the position and make it comfortable. A profile or a gap between arms and torso can make the outline clearer. Keep the pose on stable ground; there is no need to place someone near an edge to create a dramatic shape.
Put the brighter background behind the subject
Nikon’s silhouette tutorial identifies backlighting and exposure for the background as the essential setup. The Sun itself does not need to be in the frame. A bright patch of sky after sunset can provide a simpler background and avoid a distracting bright disk.
Use SkyCandy’s sun-direction planning and daylight phases to choose which side of the subject to investigate. Its sunrise and sunset quality forecast helps you assess the opportunity for sky color. The app supports the location and timing decision; it does not choose the camera exposure or ensure that the subject has a clean outline.
Expose for the sky and inspect the result
Take a test frame, then reduce excessive brightness if the sky is washing out. On a phone, exposure adjustment may be available after tapping the scene; the exact controls depend on the device. With a camera, check the histogram or highlight warning if available, not just how bright the screen looks outdoors.
Keep the outline in focus. If autofocus struggles in the dark subject, try its edge against the brighter background or focus manually using your camera’s supported controls. Automatic shadow-lifting or HDR modes can change the silhouette effect, so inspect what your chosen mode is doing before the main moment.
Build a short sequence of compositions
Prepare a wide frame that includes the setting and a closer frame that emphasizes the shape. Revisit both as the background changes. You may prefer the quieter light after the strongest color, so a silhouette session should not depend entirely on one forecast peak.
For example, place a lone tree away from the densest part of the horizon, check the sky exposure and make several frames as the clouds move. If the outline merges with another tree, move the camera rather than simply darkening the whole image. That illustrates a compositional decision, not a fixed recipe for every location.
- Scout a clean outline before the event.
- Check the light direction and setup time.
- Expose for the bright background and review focus.
- Keep the planned pose and viewpoint safe.
Questions about silhouettes
Does a silhouette need a colorful sunset?
No. Contrast and a readable shape can work with a restrained sky. A high quality forecast is useful when color is part of your goal, but it is not a requirement for the technique.
Can I make one at sunrise?
Yes, with the appropriate direction and background. Use the date-specific sun-position plan and allow setup time before the morning light arrives.
Explore SkyCandy on Google Play or SkyCandy on the App Store for current platform features and purchase options.